Invoice Settings 0 0
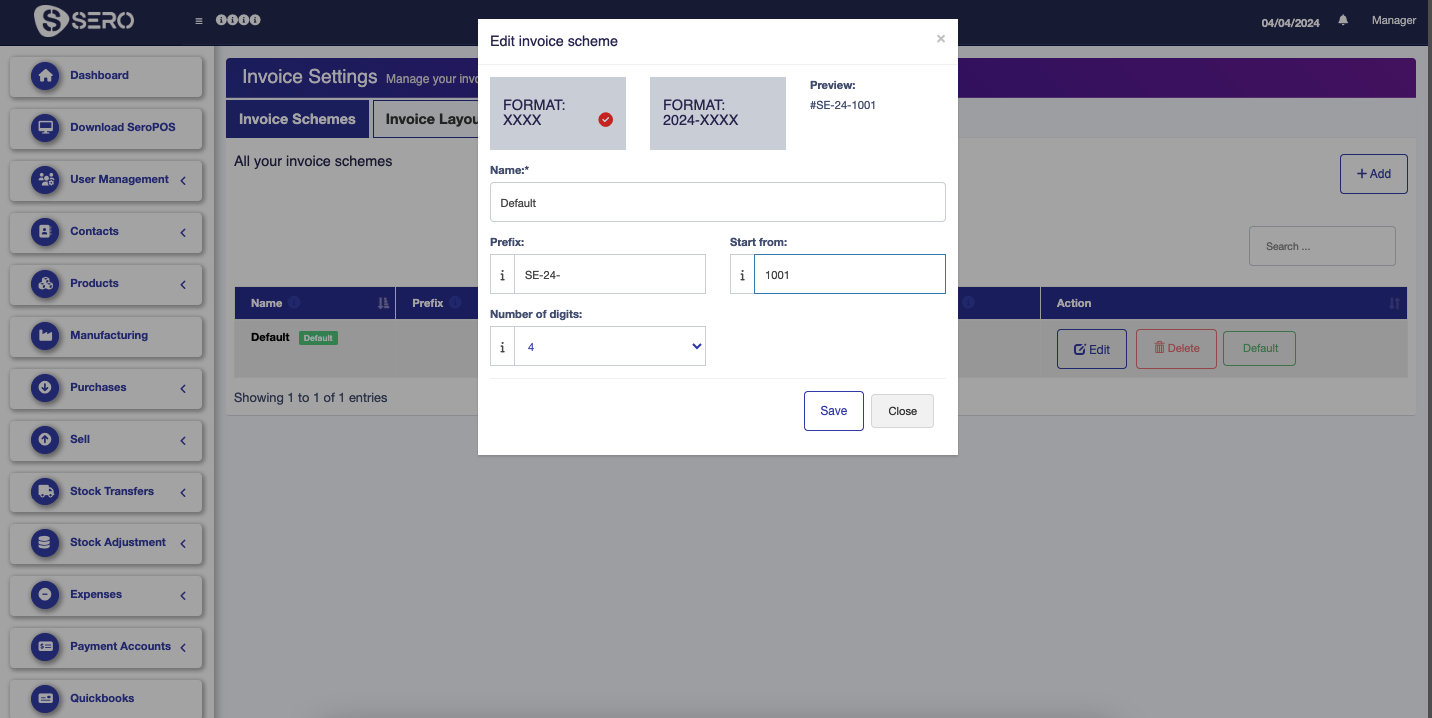
1. Invoice Schemes:
Under Settings click on Invoice Settings and it will open Invoice Schemes Page. Here you can click on Edit button and customise how you want to show your invoice numbers on your invoices. Once you create it, invoice numbers will auto increment from there.
2. Invoice Layout:
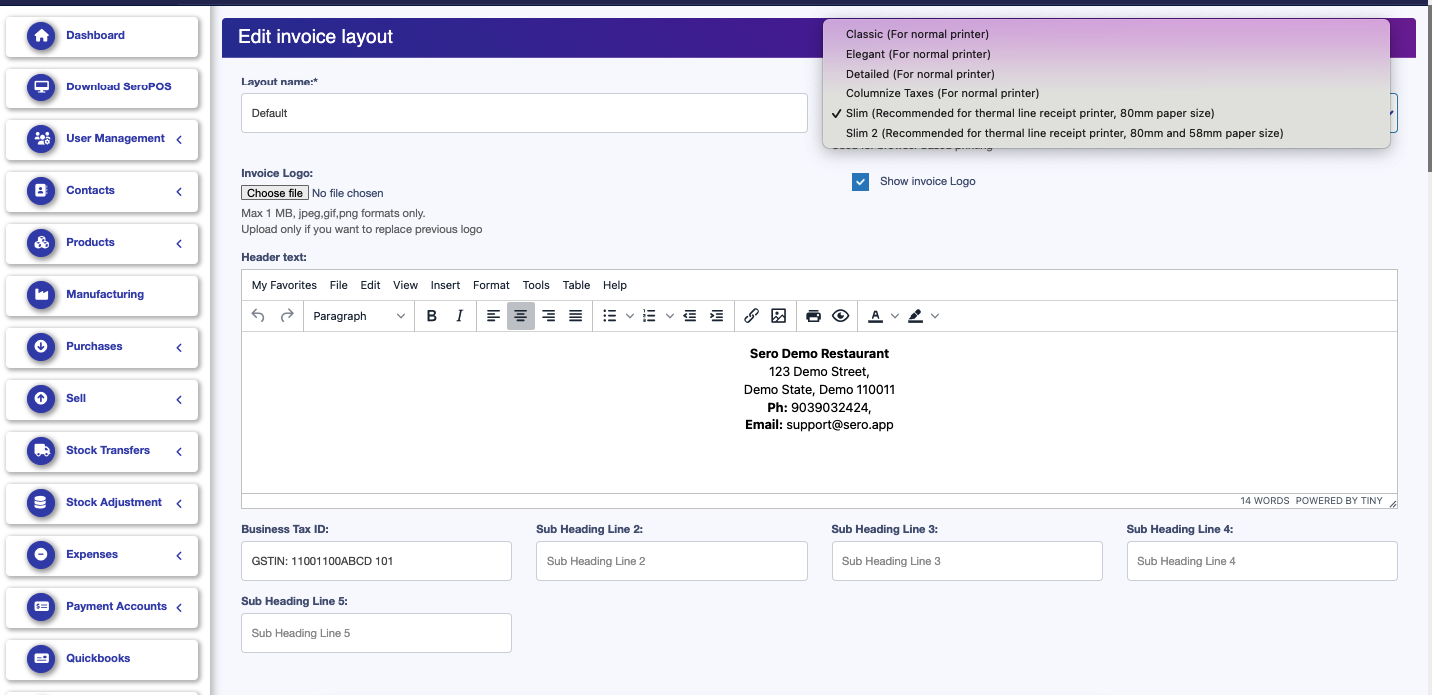
Once you click on Invoice Layout, you will see Default Layout. Click on Default and it will open the Invoice Layout Page.
Layout Name: Do not change this.
Design: If you are using a 50 mm or 80 mm Receipt printer, then it is highly recommended that you use "Slim" Design. If you are using a normal inkjet or Laser Printer with A4 paper, then you can choose Classic, Elegant or Detailed layouts.
Invoice Logo: Upload your logo that you want to print on the invoice header and check the box "Show Invoice Logo". Make sure to use the png file with no or white background in Logo for Best Results.
Header Text. Here you can enter everything that you want to show on the header of your invoice. Make sure to center align it for best results.
Business Tax ID: Please enter your Tax ID which will show under your Header on the Invoice.
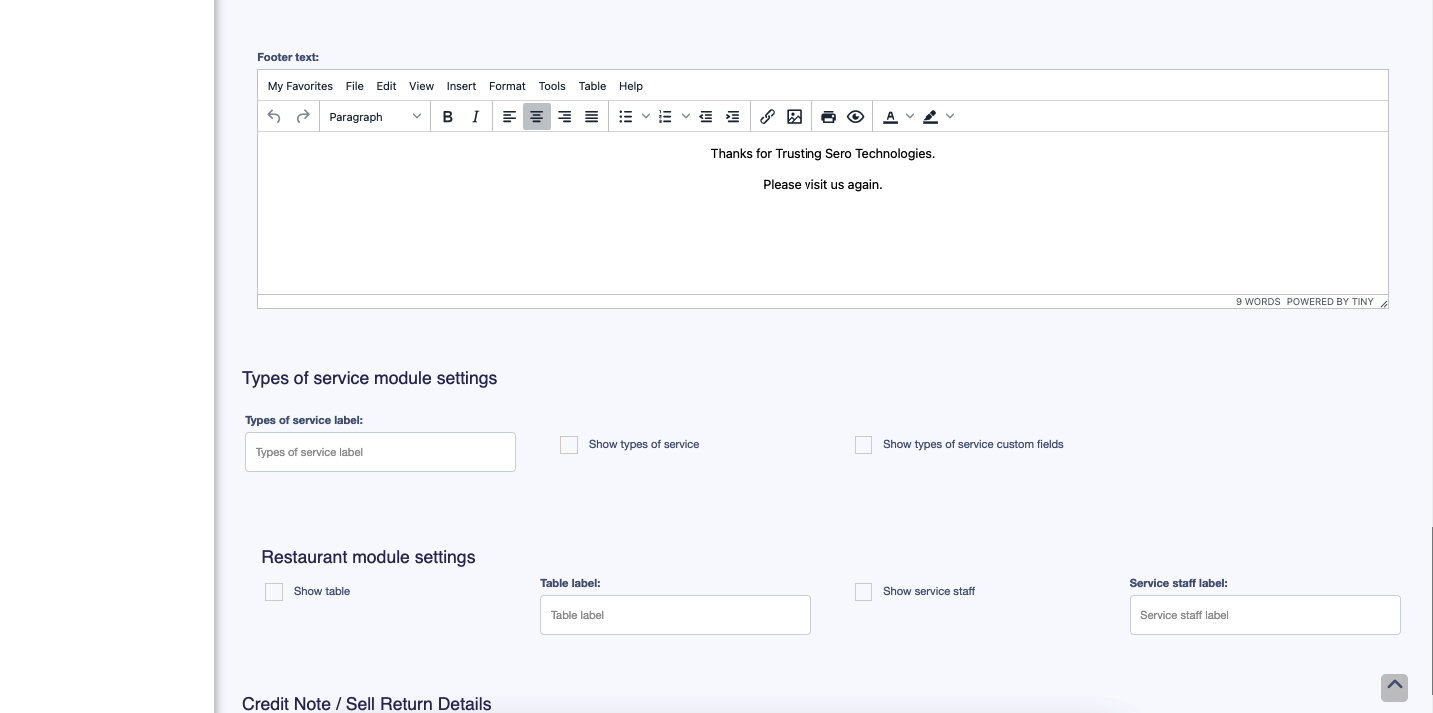
You may ignore everything else on the page as advised, unless you want to make any specific change in the invoice. It is advised to leave all the other fields as it is.
Footer Text: Please enter any information that you want to show on the footer of the Invoice. Please make sure to center align it for best results.